Update May 5, 2014:
This filter is still functional after 2 and a half years of operation. It was frozen solid this winter (until Feb. 2014) for 2 months. Temperatures were down to 10 degrees F. for several days, and below freezing day and night for weeks at a time. It has taken about 6 weeks of running to overcome the effects of being totally frozen. The re-circulation pump needed some cleaning but other than that, there was no visible damage to the filter system from the freezing weather here in western Washington state.
Update October 22, 2013:
This filter is still working after 2 years of continuous operation. The filter has been monitored regularly, and as a result, a potential issue with the sand has been discovered. The bottom layer is too coarse, and takes up too much room. There should be more fine sand and less coarse sand to produce exceptionally clear water. If the depth of the.45 mm effective size sand on the bottom layer is reduced considerably, and the .25 mm effective size layer depth increased accordingly, this filter will produce higher quality water at a reduced flow rate. Reduce the depth of the .45 mm sand to a maximum of 6 inches, and increase the depth of the .25 mm sand as much as the bottom layer has been reduced, so the overall depth of sand is the same as the original design. Note that your flow rate will be reduced, but the quality of the water will increase.
Know that flow rate depends on the turbidity of your input water. Highly turbid input water will clog the filter very quickly. If you have any doubts about your input water turbidity, set up a small test filter in a 5 gallon bucket and watch the flow over a period of several months. You may need to set up a roughing filter.
Update June 30, 2013: There is a video describing the construction of the filter described in this post on YouTube.
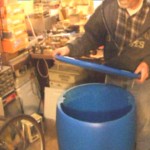
A new filter has been put together here. This is Filter 4.
AS OF FEBRUARY 8, 2012, THE OUTPUT OF THIS FILTER HAS BEEN TESTED. THE FILTER IS WORKING.
IT WAS STARTED ON NOV. 13, 2011 AND MODIFIED ON NOV 22, 2011 THEN RESTARTED ON NOV 22, 2011; THEN MODIFIED AGAIN ON DECEMBER 14, 2011 AND RESTARTED AT THAT TIME. The tests were done by an EPA certified lab here in the Seattle area. Note that it will be at least 3 weeks from Nov. 22 (weather permitting )before the tests go in and then another 3 weeks until the results are obtained. This means it may be the middle of January 2012 before we know for sure that this design works.
The input section of this filter is an adaptation of
the filter shown by ArashiNage Thank you ArishiNage!!! I suggest viewing his video – its excellent.
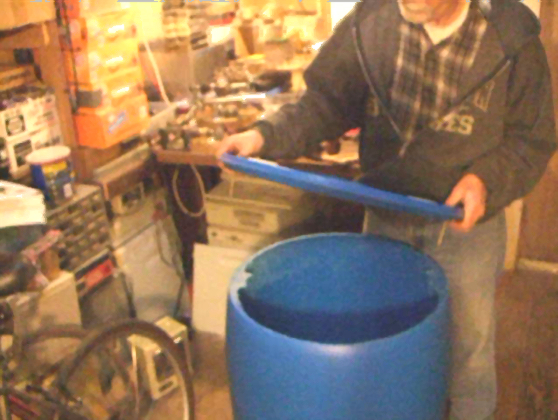
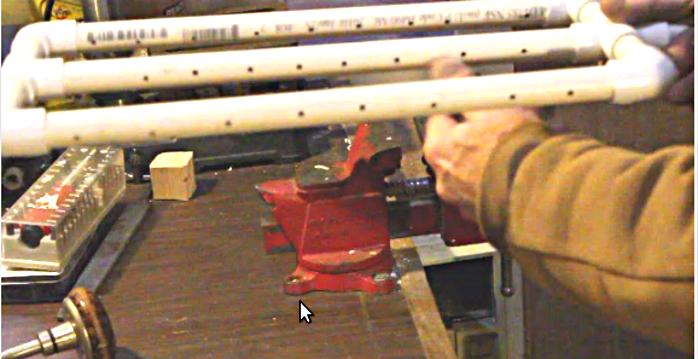
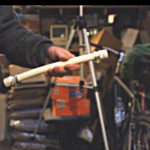
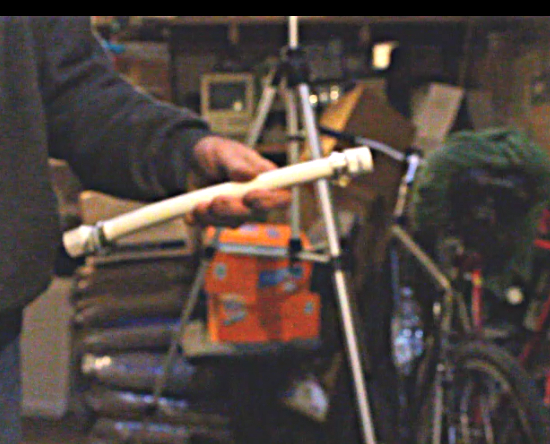
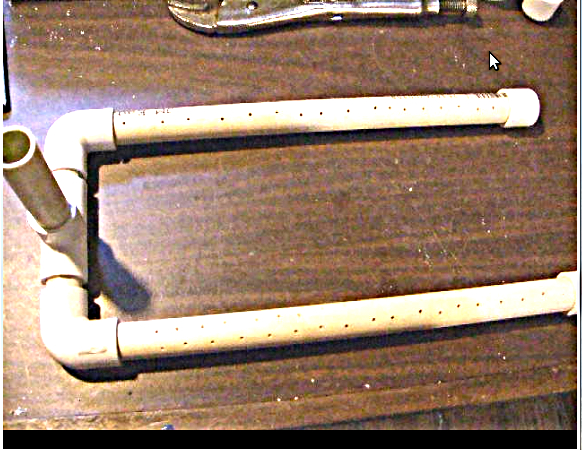
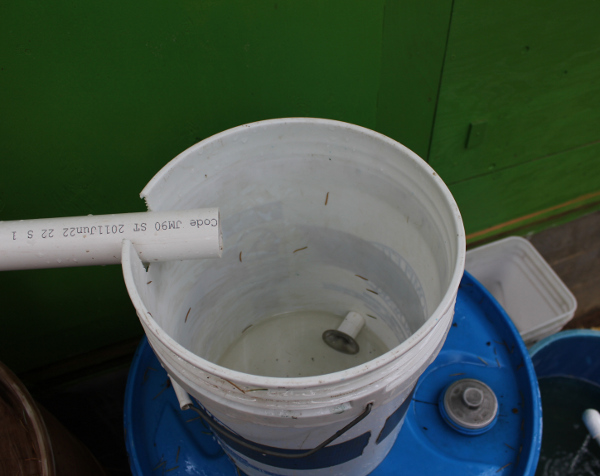
Below are some screenshots of the assembly procedure. The bottom level of sand used is .45 mm effective size, the top 3 inches is .25mm effective size. The pvc is half inch. The drill size for the baffle is a #45 and the size for the drain is 5/32 inch.
When you put a small slow sand filter together remember this: add the sand and gravel to the water – don’t add the water to the sand and gravel – fill the container first at least half way full. Here is why: as water is added to fine grain dry sand in a container, often small air pockets form (air pockets can even form in wet sand if it is just dumped in the barrel without water in there first). The sand does not get saturated with water in places and this will cause bacteria to die and horribly foul the filter. There will be a most horrific odor and the filter will produce toxic water. This will require shoveling out all the sand and sterilizing it and then putting it back in, or worse, replacing all the sand. Don’t even go there – just be sure the sand is added to water that covers it when it is added to the container. I have already been through this – and it is a huge pain to replace the sand in one of these filters. Its much easier just to have water in the container first. Don’t put chlorine in the filter – ever. Don’t clean the sand with chlorine unless you make sure to remove ALL of the toxic chemical before you put the sand into the filter. Chlorine will keep the beneficial bacteria from growing. Its ok to sterilize the container and pipes with chlorine, but be absolutely sure to get it all out before you start the filter. A better choice for sterilizing would be hydrogen peroxide – 3 percent solution – just don’t get it on your hands. The bacteria on TOP of the sand and in the top 4 or 5 centimeters needs to stay on top – that is where it works to stop pathogens. “Clean” the filter by “wet harrowing” – agitate the water on top while avoiding direct contact with the sand surface, and drain off the resulting murky water while adding water to keep the sand surface covered. No need to remove sand and add new.
-

- first, cut the top loose
-
- Drill 2 holes for the locator pins – this keeps the lid from slipping off
-
- A number 10 sinker with the end smoothed off works well as a “pin”
-
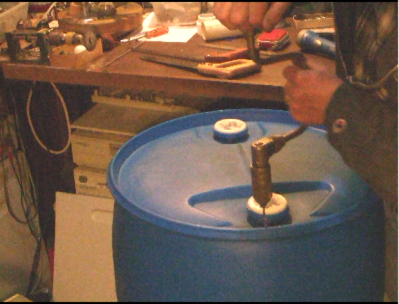
- Use a 3/4 inch spade bit to drill the hole for the output drain
-
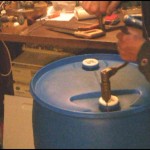
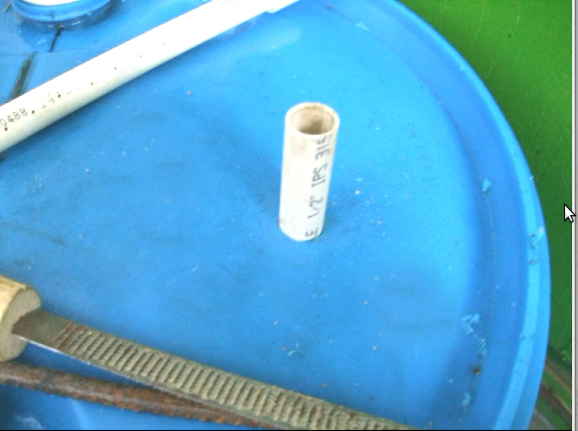
- Tap the 3/4 inch hole for the output drain with a 1/2 inch pvc threaded male adapter
-

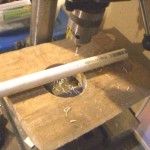
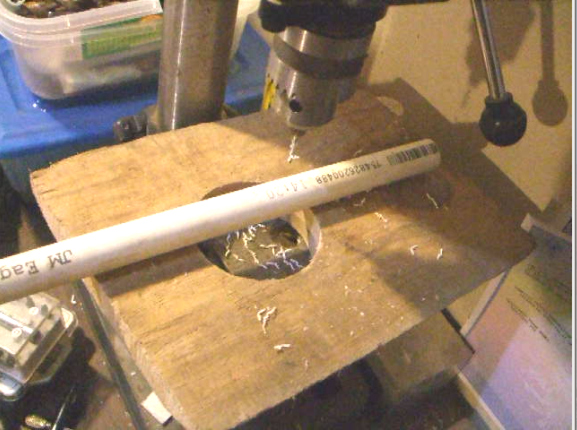
- The drainpipes are drilled with a 5/32 inch drill bit
-
- drainpipes drilled – the holes should be facing to the side – not down or up
-
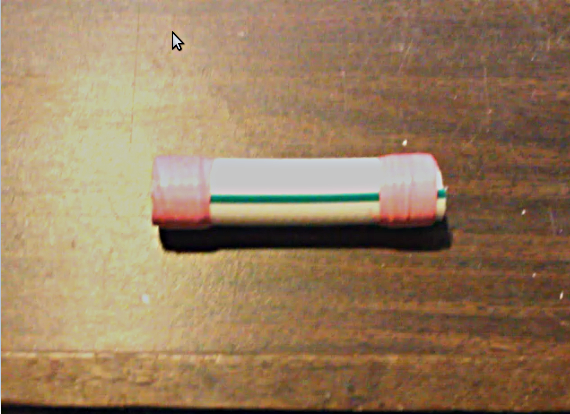
- The short piece of flexible pipe used to connect the drain pipe assembly to the output
-
- Flexible output pipe
-
- drainpipes installed
-
- output seal not leaking
-
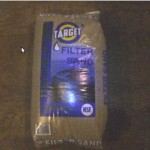
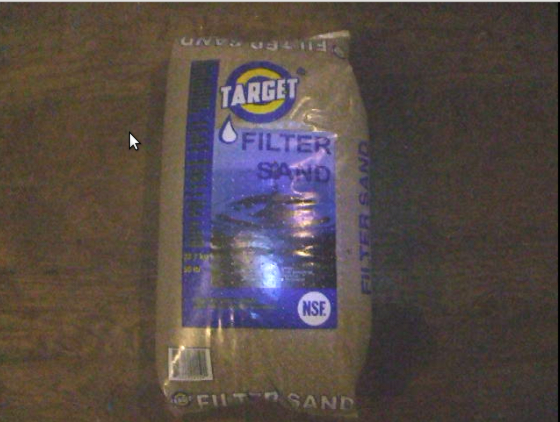
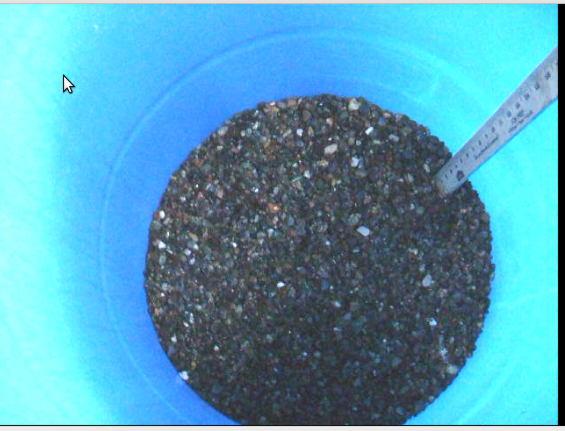
- This is the coarse sand used: .45 mm effective size. It took twelve 50 lb bags
-
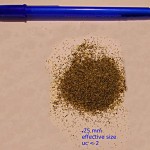
- .25 mm effective size sand (top 3 inches) – it took 80 lbs of this sand. Total sand weight: 680 pounds. Gravel weight 90 pounds. Water weight 240 pounds. Total weight 1010 pounds plus the plastic barrel – half a ton. As of Nov. 22 the .45 mm sand was made 4 inches deeper by removing the top layer, and adding more .45 mm sand. As of Dec. 14, a new top layer of .25mm sand (3 inches) 7.5 cm deep was added to cover the .45 mm sand, and the filter was restarted.

-

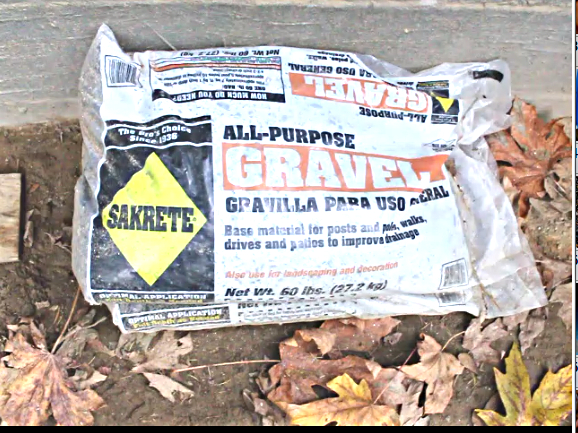
- 1 1/2 bags of this gravel was used to cover the drain pipe assembly
-
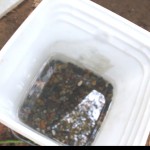
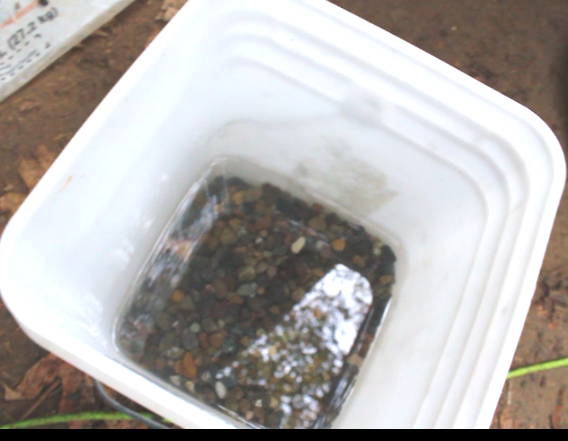
- Wash the gravel in a small bucket until the water is clear
-
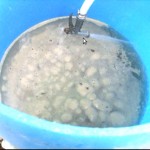
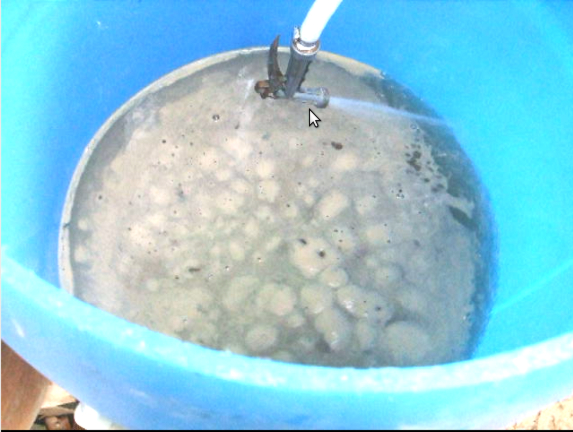
- Add sand with the water already in the barrel to avoid the formation of air pockets
-
- coarse sand level in the barrel
-
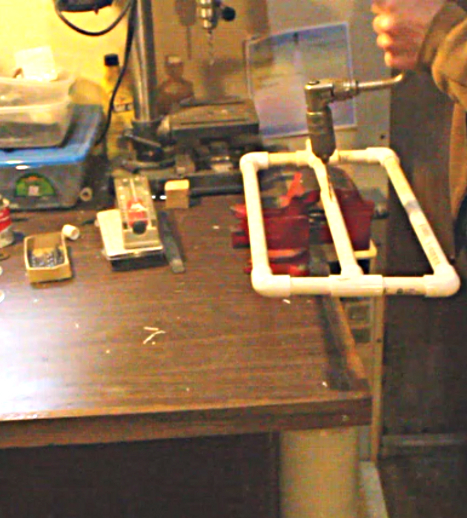
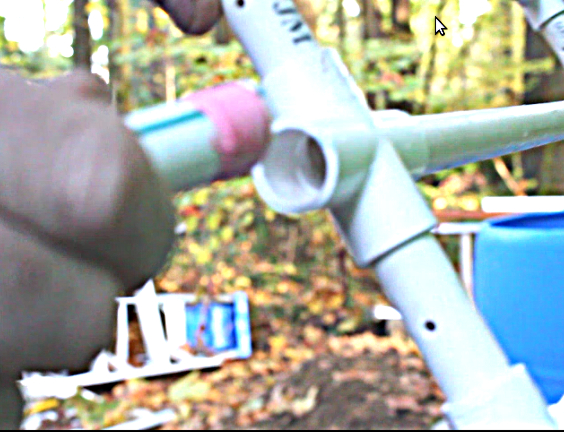
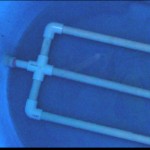
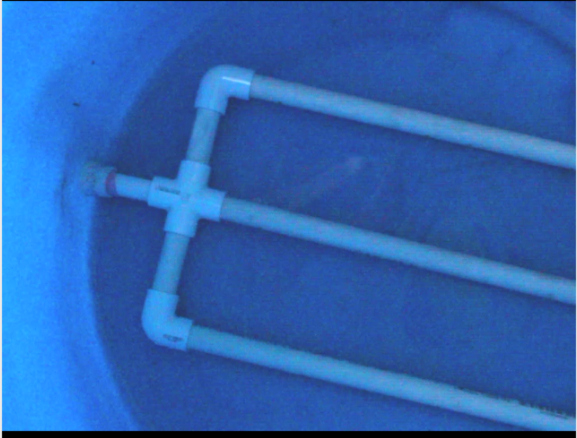
- The baffle pipes are drilled with a #45 drill bit
-
- Baffle pipes
-
- baffle pipes
-
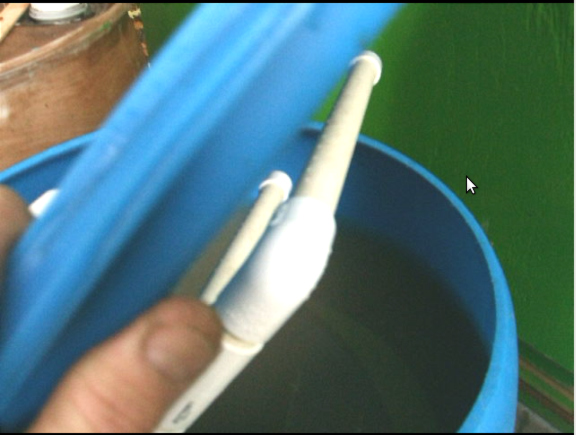
- Input bucket holds 4 gallons that flows through the baffle pipes
-
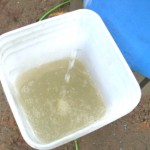
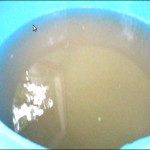
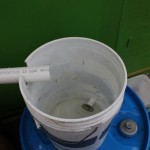
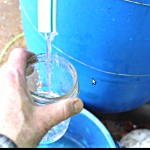
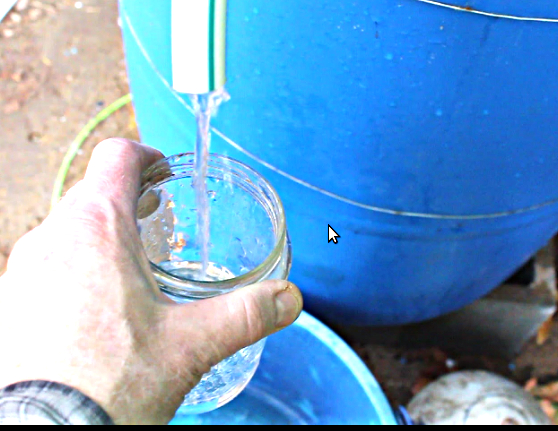
- output water after several hours of running
-
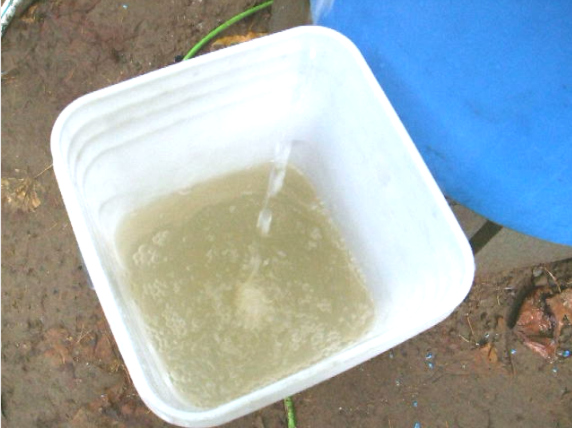
- Water flowing through the filter on the first day of operation
-
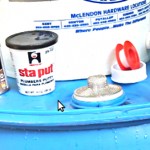
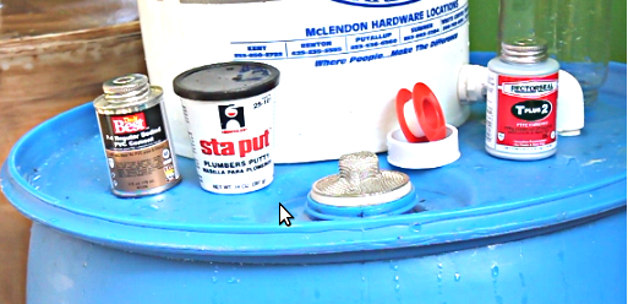
- pipe sealants used
-

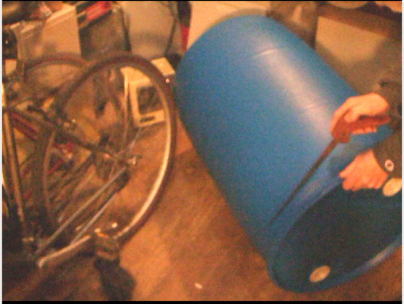
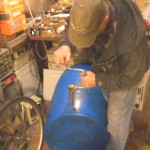
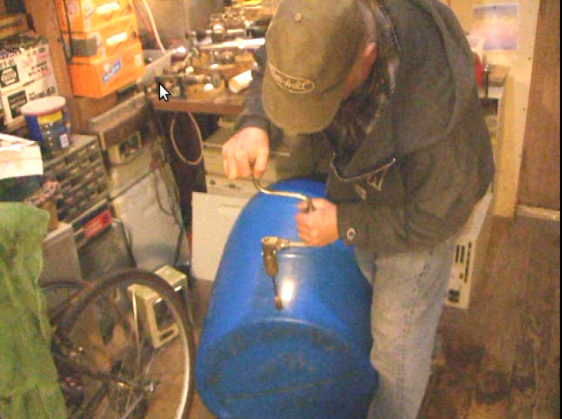
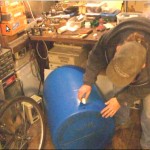
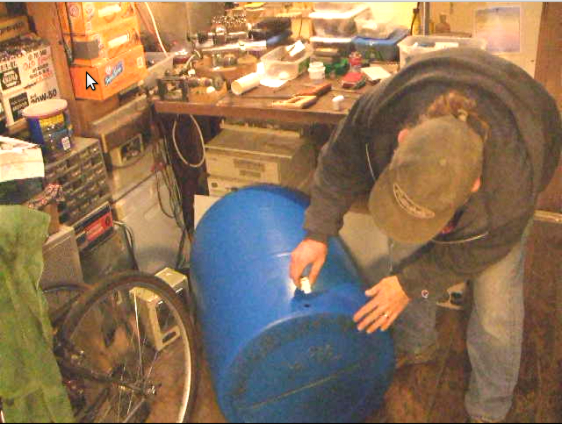
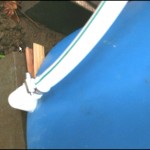
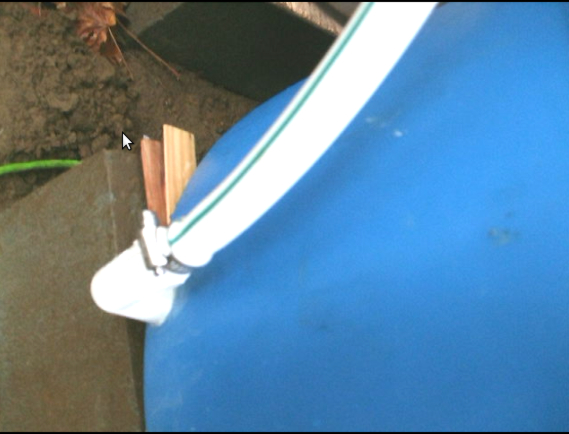
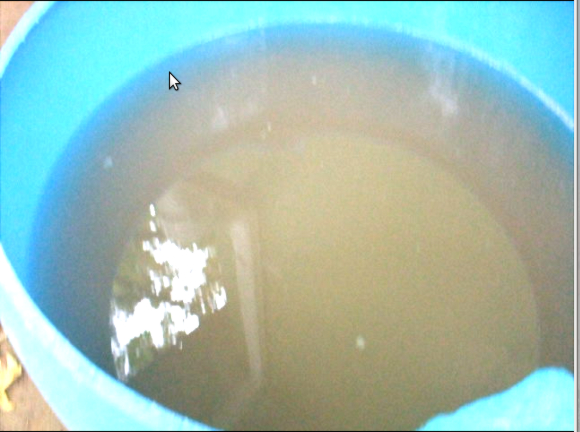
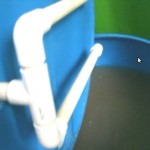
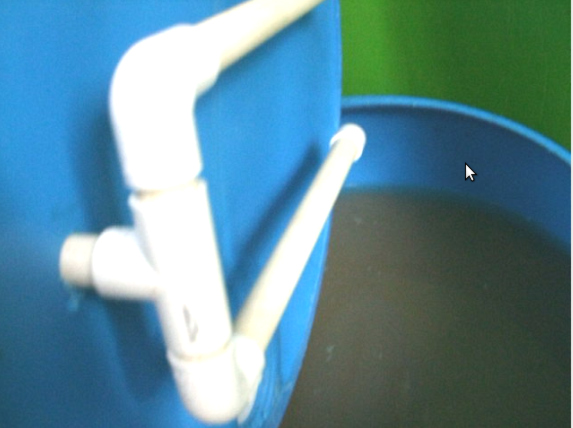
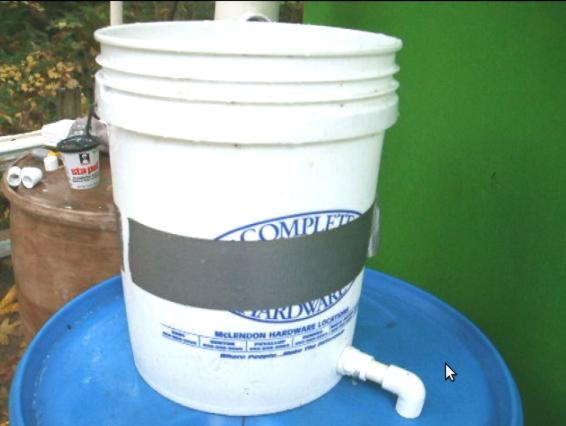
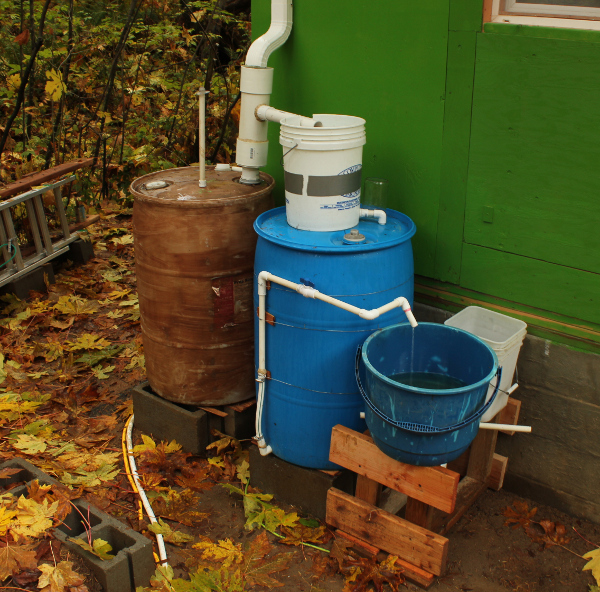
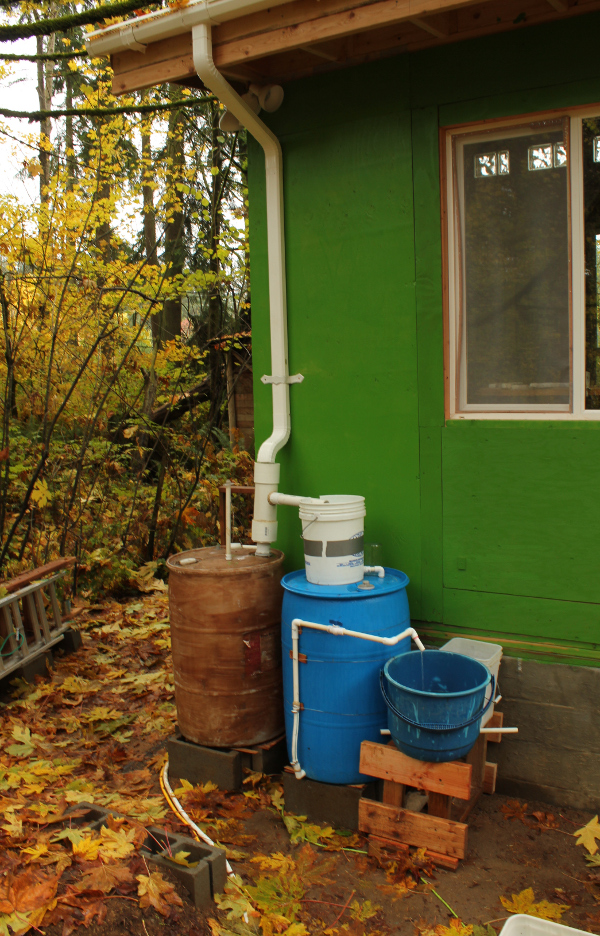
- Diverter, filter and output. The filter is the blue barrel. The diverter input is slightly tilted because I used the existing threaded opening in the barrel, which is slanted slightly towards the outside.
-
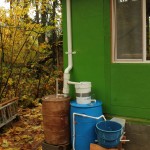
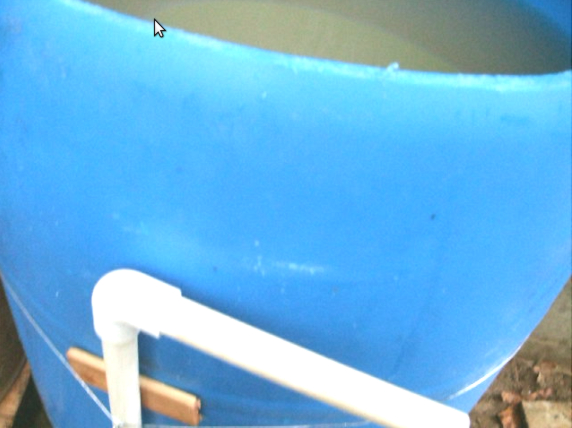
- Complete filter and diverter system
Thanks for all the useful information in this blog on slow sand filtering of rainwater. I have 2 questions please:
1) Can sections of soaker hose be used for inflow [the baffles] versus drilling holes in PVC pipe], as well as the drain pipe for outflow?
2) I want to build a “visible” slow sand filter so school children can see the parts thereof. To date, I have not found a “transparent” barrel or other see through container of sufficient size to hold the filter material or place the baffles and drain pipe in the container. Can you help me here?
Thanks!
James
James:
Thank you for taking the time to read the info and send constructive comments!
I have not tried a soaker hose, but see no reason why it would not work with input water that has low turbidity – as long as the sand remains relatively undisturbed. The only caveat might be any chemicals that might leach from the hose material. If you could find a hose recommended for watering veggies that might be the best choice. I’m not sure about the output though. It might work. . . . there’s considerable pressure at the bottom of these things 700 or 800 pounds of sand and water by weight, and also hydrostatic pressure.
The thing is to keep the sand surface as undisturbed as possible.
In two of the pond filters here, I have used the most basic of designs to mediate the turbulence on input water flow: a flat rock that the water splashes on from the input pipe – the water then gently flows down onto the surface of the sand. The rock just sits on top of the sand. The input flow must be kept to a reasonable level to keep the water from splashing too much. The tests on the output water show 0 (zero) coliform after about 4 weeks of operation. A flat piece of concrete would probably work just as well as long as there is sufficient sand surface left to form the biolayer. I have not looked under the rock to see if the biolayer forms under it. . . . .
Your idea of a visual slow sand filter sounds fantastic! I hope it works out well. How about trying this: Take a 55 gallon barrel, and cut out a 12 inch square lengthwise in the side of the barrel leaving enough material on the top to keep the barrel from breaking apart. Then, from the inside, using stainless steel hardware, bolt and glue a piece of plexiglass to the inside of the barrel. This will form a “window” so the layers of sand can be seen, as well as the bottom and the water flow. Use quartz silica light colored sand so the color change will be visible as the biolayer forms. There are pieces of plastic that are thick enough to hold the sand and water, yet flexible enough to fit on the inside of the barrel, Lowes or Home Depot have good selections. To seal this plastic window, one could use silicone, or pipe joint compound,
or a sealant such as Blue Max between the plexiglass and the barrel inside (overlap the inside several inches). There are companies that make large diameter clear pvc – I have checked into that already – it is horrifically expensive – in the hundreds of dollars: for a 12 inch diameter section 10 feet long they want over 1200 dollars.
Thanks for the wonderful ideas. I’m excited about the possibilities. If possible, I’d like to speak with you by phone. Give me your phone number via my e-mail address and I’ll call you. I have a camera trained on my project that is accessible on my blog. It is my backyard cam. I’m digging a 4x4x4 cube to bury a 275 gal. tote to store the purified water. I’ll use a picture pump to get he water out. I do have a few questions for you as I proceed. Again, THANKS!!!
Jim
This is exactly what ive been looking for, perfect. I just wanted to ask – could you see any problems in larger rectangular shaped containers, like a 1000LT Intermediate Bulk Container (IBC), for this system? I only ask because rather than having 3 plastic drums working to fill the holding tank, we could just have two of those to increase the flow rate. Its for a plant nursery so a lot of clean water is needed. The water is being pumped from a reserviour. Also at the bottom of the tank where the outlet is, is it necessary for the outlet pipes to be angled up, because our holding tank is underneath on a metal frame. If you could get back to me it’d solve so many problems, what weve got working now is doing absolutely nothing, the sand is no way fine enough and the plastic tanks on top have drilled holes in the bottom running into the holding tank.
I see two main issues, and one potential issue. First I am not sure how you will get the drain pipes inside the 1000 liter container and successfully hook up the output, unless there is a significantly large hole in the top? Secondly, a 1000 litre container filled with sand so as to function as a slow sand filter, will weigh in at about 4000 pounds when filled with water and will be extremely hazardous unless resting on properly designed supports. It should be sitting on a concrete pad, or at least on the ground.
Unless you have a huge storage tank and the filter can produce more water per day than you use, a potential issue is: If this turns out to be your only filter, I am not sure what you will do if and/or when you need to wet harrow it (clean it)? Usually, a redundancy of 2 or 3 filters operating in parallel started at 3 to 4 weeks apart will give you at least 2 filters operational at all times, thereby not interrupting your water supply.
The output pipe does not need to go out and up, that is just a way of automatically controlling the throughput and keeping water over the sand at all times. If you take water directly out of the bottom of a slow sand filter, you will need to make sure your throughput does not exceed .3 meters per hour and also make sure that the surface of the sand is always covered by water.
If the sand is exposed to air the beneficial organisms in the schmutzdecke will start to die very quickly and your filter will not work, so accurate dependable flow control is necessary.
Thanks for writing this great article for us. I have gained good stuff from this website. Looking forward to your next article. I am happy to share this post to my friends. Keep it up.